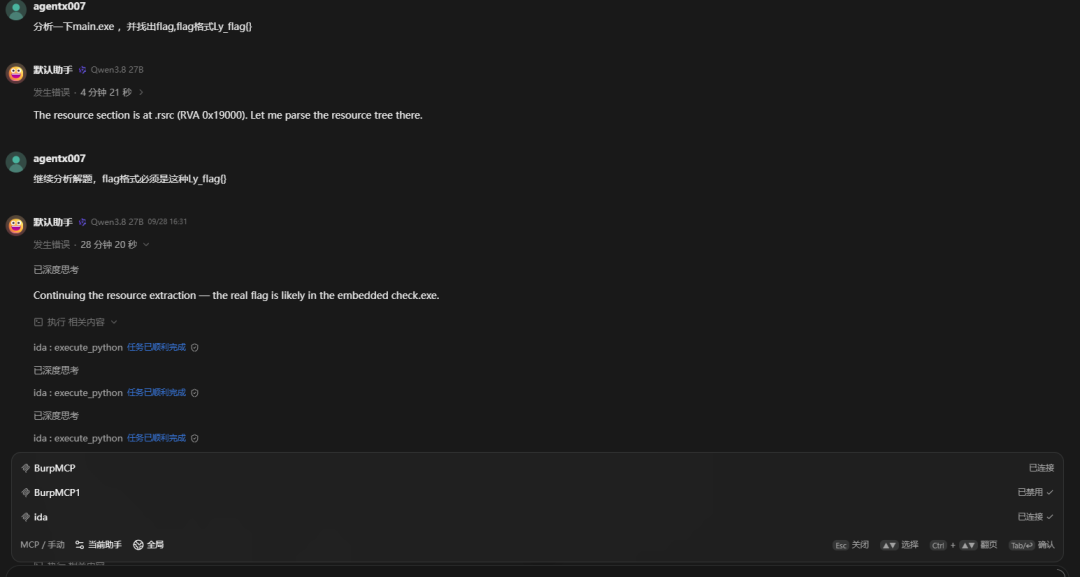
采用IDA Pro +IDA官方MCP+AI客户端Cherry studio全自动软件逆向,全网首发
既然官方IDA官方MCP发布了,好多小伙伴后台私信我求教程,那我赶紧操练起来,各位看官您接着往下看
01环境主备
02配置步骤
安装IDA Pro 9.4 (使用这个MCP,最好用9.4的版本,安装过程略)
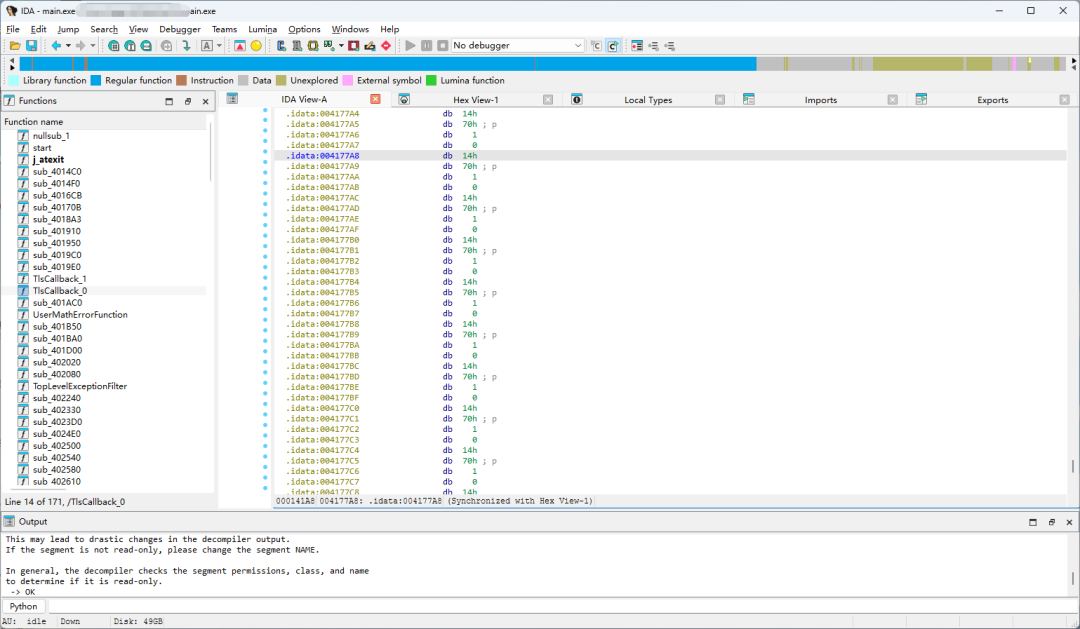
安装MCP,按照官方Github的Readme,来安装,重点说下踩过的坑,必须先安装uv、git
uvx ida-hcli mcp installuvx ida-hcli plugin install https://github.com/HexRaysSA/ida-mcphcli ida python doctor以上三条命令,执行完大概率会提示以下错误:
·Errors (1) * IDA's Python is not a virtual environment: C:\Users\test\AppData\Local\Programs\Python\Python312\python.exe (no-venv) IDA loads a global Python (system, Homebrew, python.org, or Windows Store). Plugin dependencies installed there mix with OS packages and may need administrator rights. Debian, Ubuntu 24.04+, and Homebrew refuse such installs (PEP 668). A dedicated virtual environment avoids these problems. Fix: Run
hcli ida python create-environment. It creates a virtual environment at C:\Users\test\AppData\Roaming\Hex-Rays\IDA Pro\venv with Python 3.12 and configures IDA to use it. Or do it yourself: uv venv --seed --python 3.12 C:\Users\test\AppData\Roaming\Hex-Rays\IDA Pro\venv Environment::SetEnvironmentVariable("IDAPYTHON_VENV_EXECUTABLE", "C:\Users\test\AppData\Roaming\Hex-Rays\IDA Pro\venv\Scripts\python.exe", "User") To install plugins despite these findings, pass--no-python-environment-check: hcli plugin --no-python-environment-check installNotes - A virtual environment already exists at C:\Users\test\AppData\Roaming\Hex-Rays\IDA Pro\venv (Python 3.12), but IDA is not configured to use it. If its version is correct, set: Environment::SetEnvironmentVariable("IDAPYTHON_VENV_EXECUTABLE", "C:\Users\test\AppData\Roaming\Hex-Rays\IDA Pro\venv\Scripts\python.exe", "User") - uv is on PATH.create-environmentusesuv venv --seed, which can also download Python. - On Windows,setxsets the variable for your user account. Programs started afterwards, including IDA from the Start menu, see it.·这是因为要创建虚拟环境,按照给的提示执行以下命令:
hcli ida python create-environment执行失败的可以尝试执行以下命令,实际路径自己更改
·uv venv --seed --python 3.12 "C:\Users\test\AppData\Roaming\Hex-Rays\IDA Pro\venv"
"IDAPYTHON_VENV_EXECUTABLE",
"C:\Users\test\AppData\Roaming\Hex-Rays\IDA Pro\venv\Scripts\python.exe",
"User"
)·最重要的一步,退出所有终端窗口,并推出IDA pro,重新打开终端输入以下命令:
hcli ida python doctor然后再安装ida-mcp(之前还会提示(缺少ida-nexus这个python库),输入以下命令:
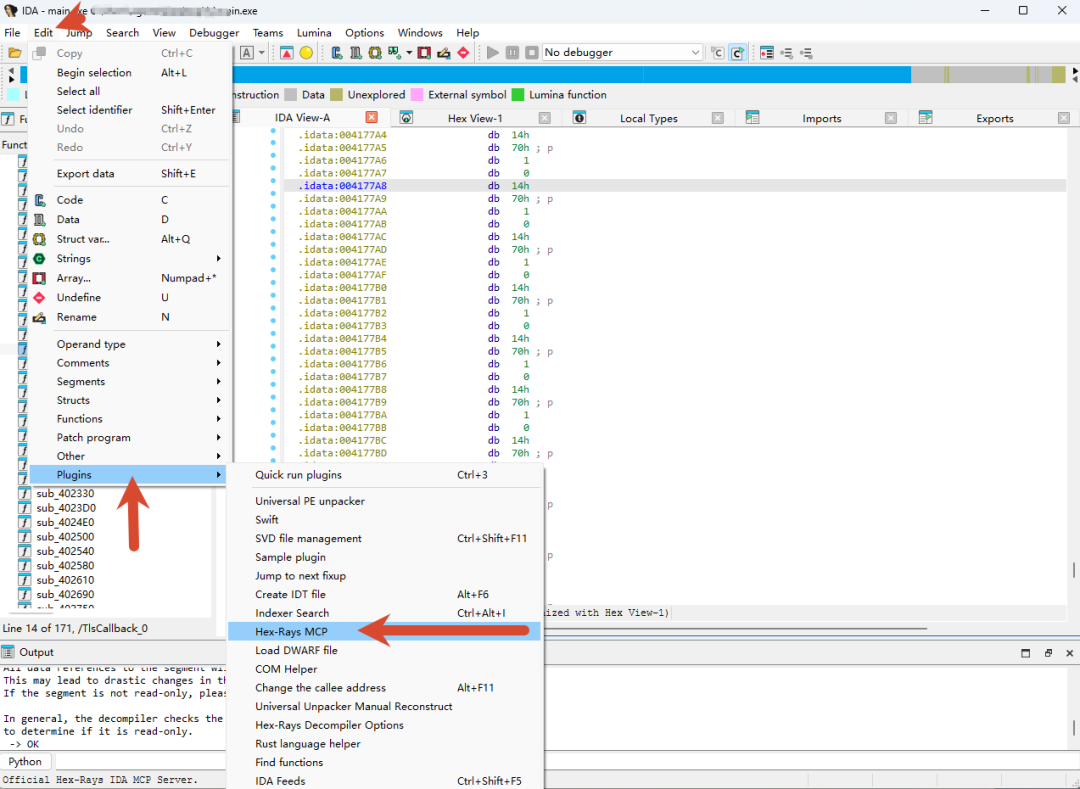
hcli plugin install ida-mcp@https://github.com/HexRaysSA/ida-mcphcli plugin status大概率会提示 : ida-mcp 20260924.0.3,ok,到此安装完成,需要进IDA确认下,找到菜单路径Edit--->Plugins--->Hex-Rays MCP,如图,出现这个就成功了
3. 配置Cherry Studio 里的MCP,大模型配置就自己配吧,我用的是Qwen3.8-27B,添加MCP,输入以下代码,具体路径根据自己的实际路径更改
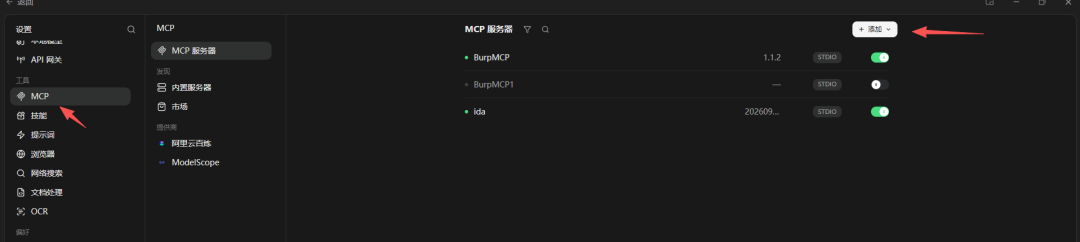
{"mcpServers": {"ida": {"command": "uvx","args": ["--exclude-newer=1s","ida-mcp","stdio","--agent=cherry-studio"]}}}
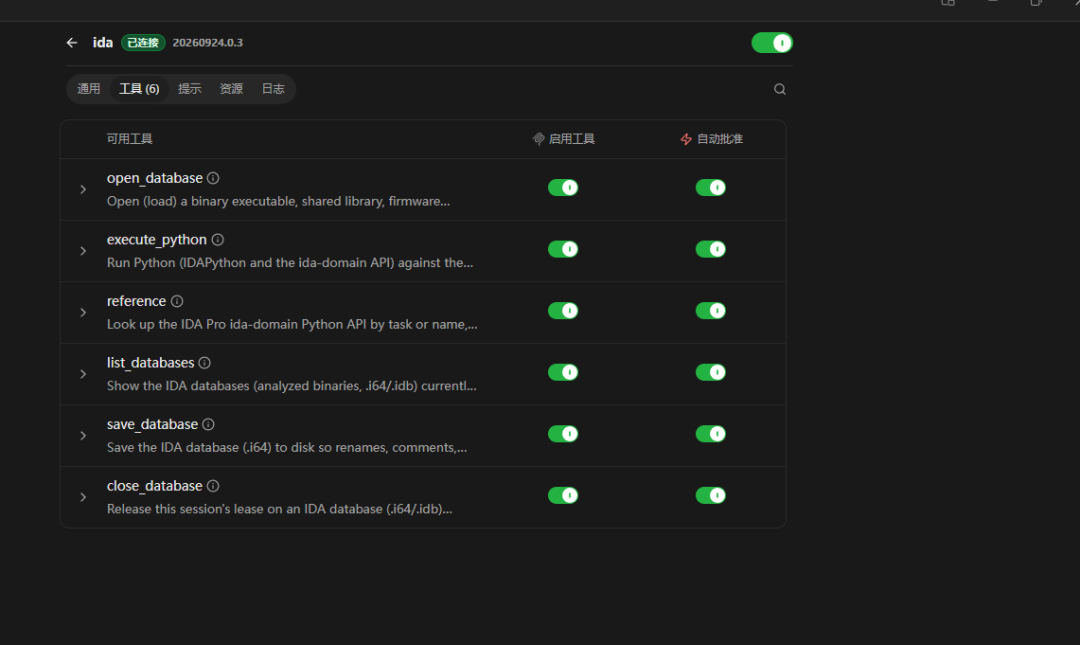
保存退出,等待颜色变绿,正常的是这样的,当然,配置MCP的时候需要IDA一直是开启状态
4. 接下来就可以开始测试了,我是这样测试,先用IDA打开一个exe程序,然后在Cherry studio 对话框,开启这个MCP,然后直接输入分析逆向这个程序,就开始自动分析了。